Guides · During the work
Finishing a flat, step by step
Finishing has a right order, and most expensive mistakes come from breaking it. Here is the sequence from bare walls to handover, with what to check before each stage is closed up.
Why the order matters
The order matters because almost every stage covers the one before it. Once plaster goes on, the conduits and pipes behind it disappear; once the floor is laid, the waterproofing under it cannot be inspected; once a gypsum ceiling is closed, the AC drain inside it cannot be reached without cutting.
So the rule is simple: nothing gets covered until it has been finished, tested and photographed. Every time a team skips that rule to save a day, the cost comes back later as broken tiles, chased walls or a ceiling opened up after the paint is done.
The sequence below is the usual one for an apartment taken from red brick. A semi-finished unit joins it further down the list, and a villa or chalet follows the same logic with more work at every stage.
The sequence, step by step
Fourteen stages, in the order they are normally done. Some overlap on a real site, but none should start before the stage it depends on has been checked.
Decide before anyone builds
Fix the layout, the kitchen and bathroom plans, the AC type (split or concealed), the lighting plan and every socket position. A change on paper costs nothing; a change after plaster means breaking walls.
Walls, openings and door frames
Build or remove partitions, correct the openings, and fix door frames so the plaster can finish against them. Check that frames are plumb and set to the planned finished floor level.
Electrical first fix
Conduits, back boxes, the panel position, power for the AC, and data and TV points. Check every run against the drawing, and photograph the walls before they are closed.
Plumbing first fix
Hot and cold supply pipes, drains with their falls, and a point for every fixture. Supply pipes are pressure-tested and left under pressure before anything covers them.
AC first fix
Copper pipes, drain lines to a proper outlet, and ducts if the AC is concealed. A drain needs a steady fall; a flat drain is the classic cause of water on a new ceiling.
Plaster
A bonding coat, levelling dots and screeds, then the plaster itself. Cement plaster is kept wet for several days so it cures instead of drying out and cracking. Check walls with a long straightedge and corners for square.
Waterproofing the wet rooms
Bathroom, kitchen and balcony floors are waterproofed, with the membrane turned up the walls. Then a flood test: the floor is filled with water and left for a day or two while the ceiling below is watched. No tiles until it passes.
Screed and floors
The floor screed is laid to level, with falls to the drains in wet areas, then porcelain, tiles or marble, plus wall tiling in the kitchen and bathrooms. Finished floors are covered and protected for the rest of the job.
Gypsum board ceilings
Ceilings and bulkheads go up once everything they hide is in and tested: AC ducts and drains, lighting cables, access hatches. Some teams do ceilings before floors; either works if the floor is protected and nothing above is left open.
First paint coats
Sealer, filler and sanding, then the first coats on walls and ceilings. The final coat waits until the heavy trades have left the site.
Fitted work
Aluminium windows, interior doors, the kitchen, wardrobes, vanities and stone tops. Kitchens and worktops are measured on site once walls and floors are final, never from the drawing alone.
Second fix
Sockets, switches and light fittings, sanitaryware and mixers, the water heater and the AC units. Every circuit and every tap is tested as it goes in.
Final paint, polish and clean
The last coat of paint, touch-ups after the fitters, marble polishing where there is marble, and a deep clean of floors, glass and fittings.
Handover
A room-by-room inspection against the written quotation, with every defect written down and a date agreed to fix it.
Where does your unit join the sequence?
- From red brick: start at stage one and go through every stage.
- Semi-finished from the developer: first fix and plaster are usually in place. Start by checking them: test the electrics and plumbing, check the walls for flatness, and decide whether the existing routes suit your design before any floor goes down.
- An old apartment: start with demolition and removal, then inspect the old wiring and pipes. Replacing them is usually more sensible than patching, because opening the walls a second time costs more than doing it once.
- A villa: the same sequence floor by floor, plus facades, roof waterproofing and outside works, planned so that outside work does not damage finished rooms inside.
- A chalet on the coast: the same stages, with materials chosen for salt and humidity, and a programme that respects the compound's rules and the summer season.
Common sequence mistakes
- Final paint before the AC units are fixed: drilling and pipework mark the walls, and the room is painted twice.
- Tiles before the flood test: if the waterproofing leaks, the new tiles have to come up to find it.
- Gypsum closed before the AC drains are tested: the first leak shows as a stain on a finished ceiling.
- A kitchen made from the drawing alone: walls that are a few centimetres out on site mean gaps, filler strips or a worktop that does not fit.
- Door leaves hung before the floor is laid: a door cut for ceramic will not clear a thicker marble floor, and leaves a gap above a thinner one.
- Socket positions decided after plaster: every late change means chasing a finished wall.
How long it takes, and what sets the pace
There is no honest single figure: the time depends on the size and state of the unit, the level of finish and how quickly decisions are made. A villa takes longer than an apartment, and an apartment from red brick takes longer than a semi-finished one.
What actually sets the pace:
- Curing and drying: plaster, screed and waterproofing need time before the next layer, and rushing them causes cracks and damp later.
- Made-to-measure items: kitchens, wardrobes, doors, aluminium and stone tops are measured on site and made afterwards, so they should be ordered as soon as they can be measured.
- Decisions: tiles, marble, colours and fittings chosen late are the most common reason a site stands still.
- Access and approvals: building or compound rules on working hours, deliveries and permits. Find out what they are before you start.
- The season on the coast: some compounds limit building work during the summer, which is why chalets are usually finished out of season. Check your compound's rules early.
- Continuity: a site where each trade follows the last without a gap moves faster than one where every trade waits to be called.
How Itmam runs the sequence
We run every stage as one job, against one written, itemised quotation. We visit and measure before anything starts, so the quotation describes your unit and not an average one.
On a finishing contract you pay each supplier directly and the tax invoice is in your name; our fee is for supervision and execution, agreed in writing before work starts. Kitchens, wardrobes, doors, vanities, metalwork and stone tops are made in our own workshops, and stone is templated, cut and installed by the same team, so the fitted-work stage stays in one pair of hands.
We work in Alexandria, along the North Coast and in New Cairo, and elsewhere in Egypt when the job suits.
Departments for this
Full Home Renovation
This is the contract most of our clients actually want: one company, one programme, one written quotation.
See more
Electrical & Smart Home
Electrics are invisible until they are a problem.
See more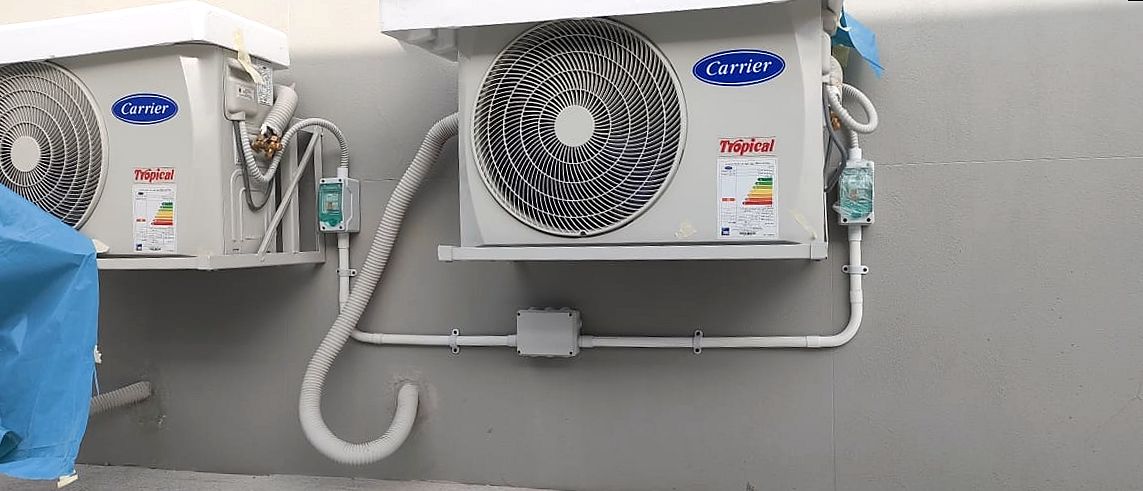
Air Conditioning & Ventilation
Air conditioning is the system nobody thinks about until it fails, and then it fails visibly: a brown stain spreading across a new gypsum ceiling, a bedroom that never gets cold because the unit was chosen from a catalogue, an outdoor condenser eaten through by three seasons of salt.
See moreGypsum & Decorative Ceilings
The ceiling is where lighting, air conditioning and joinery all arrive at the same plane, which is why it is the first thing an eye catches when something is out.
See more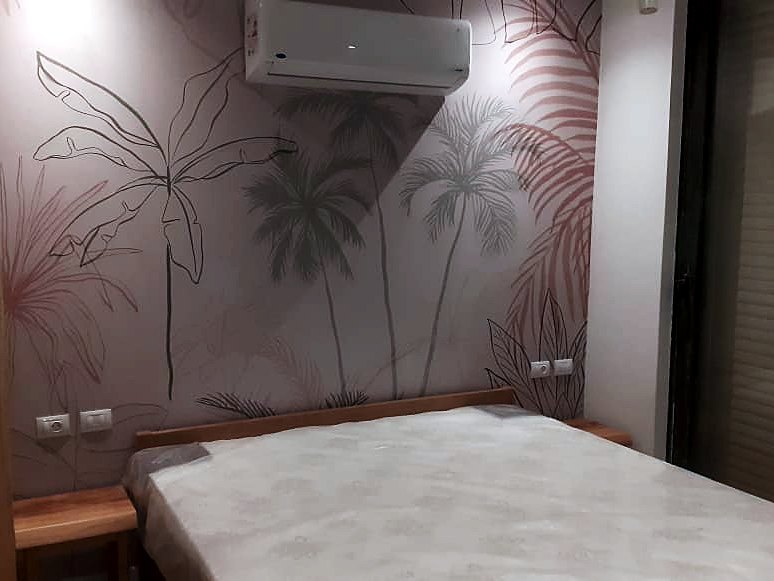
Painting & Decorative Finishes
Paint is the finish everybody judges and the trade everybody rushes.
See moreWork we have done
Photo gallery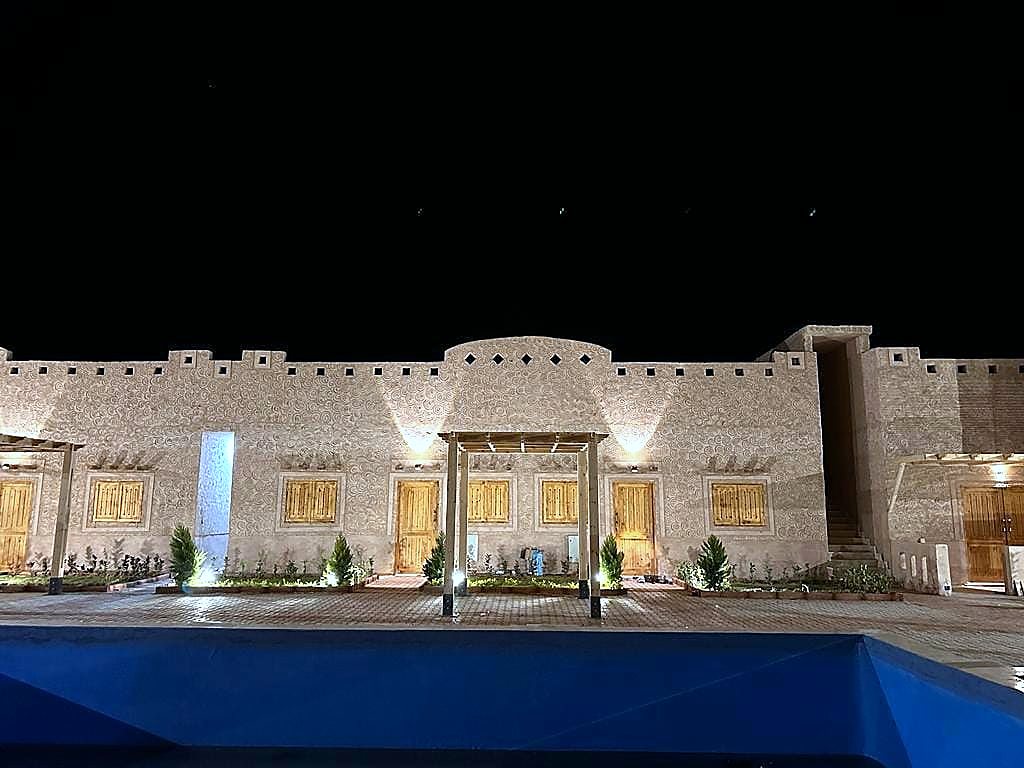
El Moghra
Turnkey build & finish · Desert lodge · Completed
View project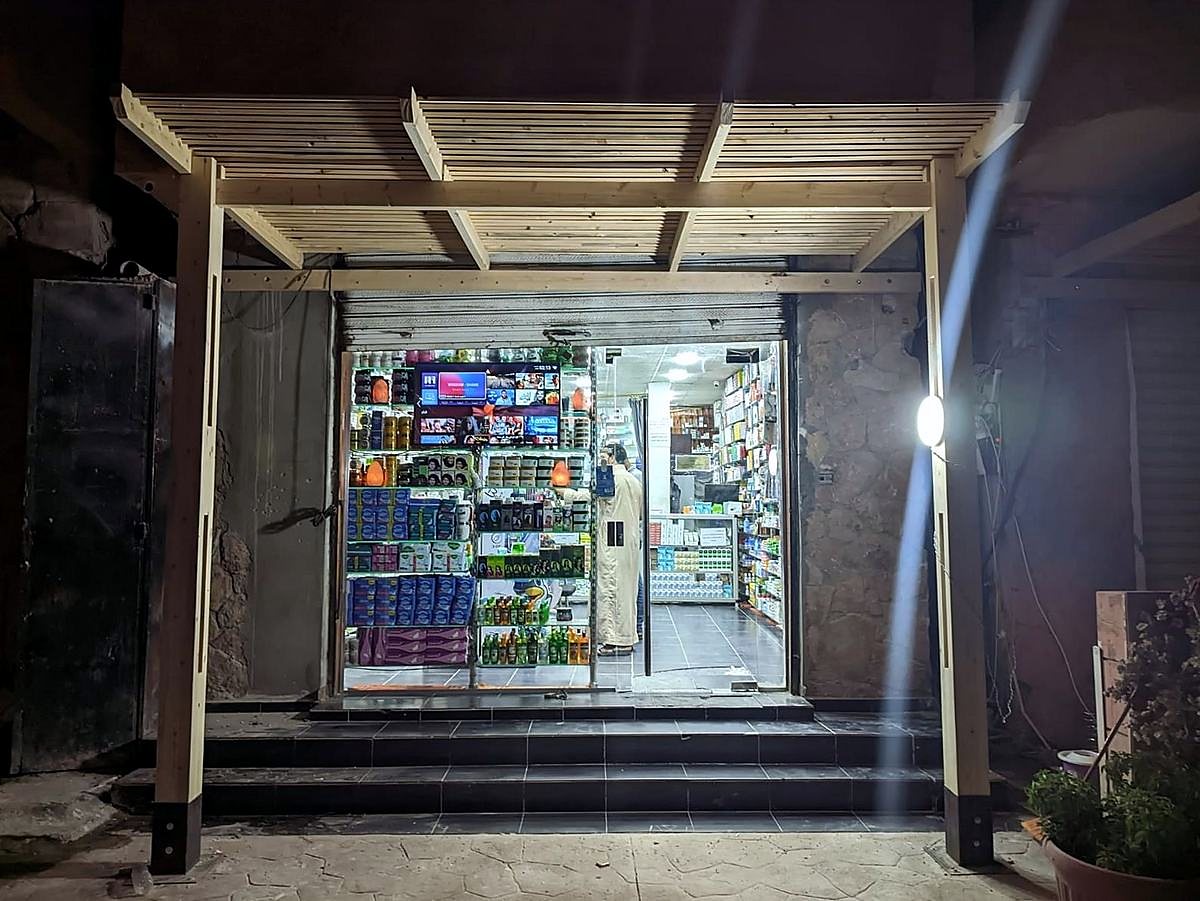
Market Street, Siwa
Façades, pergolas & shopfronts · A street of shops · Completed
View project
The Equestrian Yard
Stables, arena & yard · Working yard · In progress
View projectQuestions people ask
What is the first step in finishing a flat?
Electrics first, or plumbing?
How long does finishing a flat take?
Gypsum board before or after painting?
When does the kitchen go in?
What delays a finishing job the most?
Read next
From red brick to keys
Took handover of a unit in red brick? Then everything is still ahead of you, and this is the best moment to make the decisions…
See more Finishing · by current stateCompleting a semi-finished flat without ripping it out
Semi-finished does not mean half the work is done. It means someone else has already done work that you will build on, so you…
See more Guides · HandoverTaking handover: what to check before you sign
Handover is the last moment when defects are easy to fix. Go through the unit room by room, with the power and water on, and…
See more Guides