Decoration · by style
Hidden lighting: plan it before the gypsum
Hidden lighting is decided at the electrical first fix and built into the gypsum board. Planned in layers, in the right colour and with a driver you can reach, it makes a room calm and easy on the eyes. Added at the end, it shows dots, shadows and every flaw in the ceiling.
Three layers of light
A well-lit room uses three layers of light, each with its own job, rather than one bright source in the middle of the ceiling.
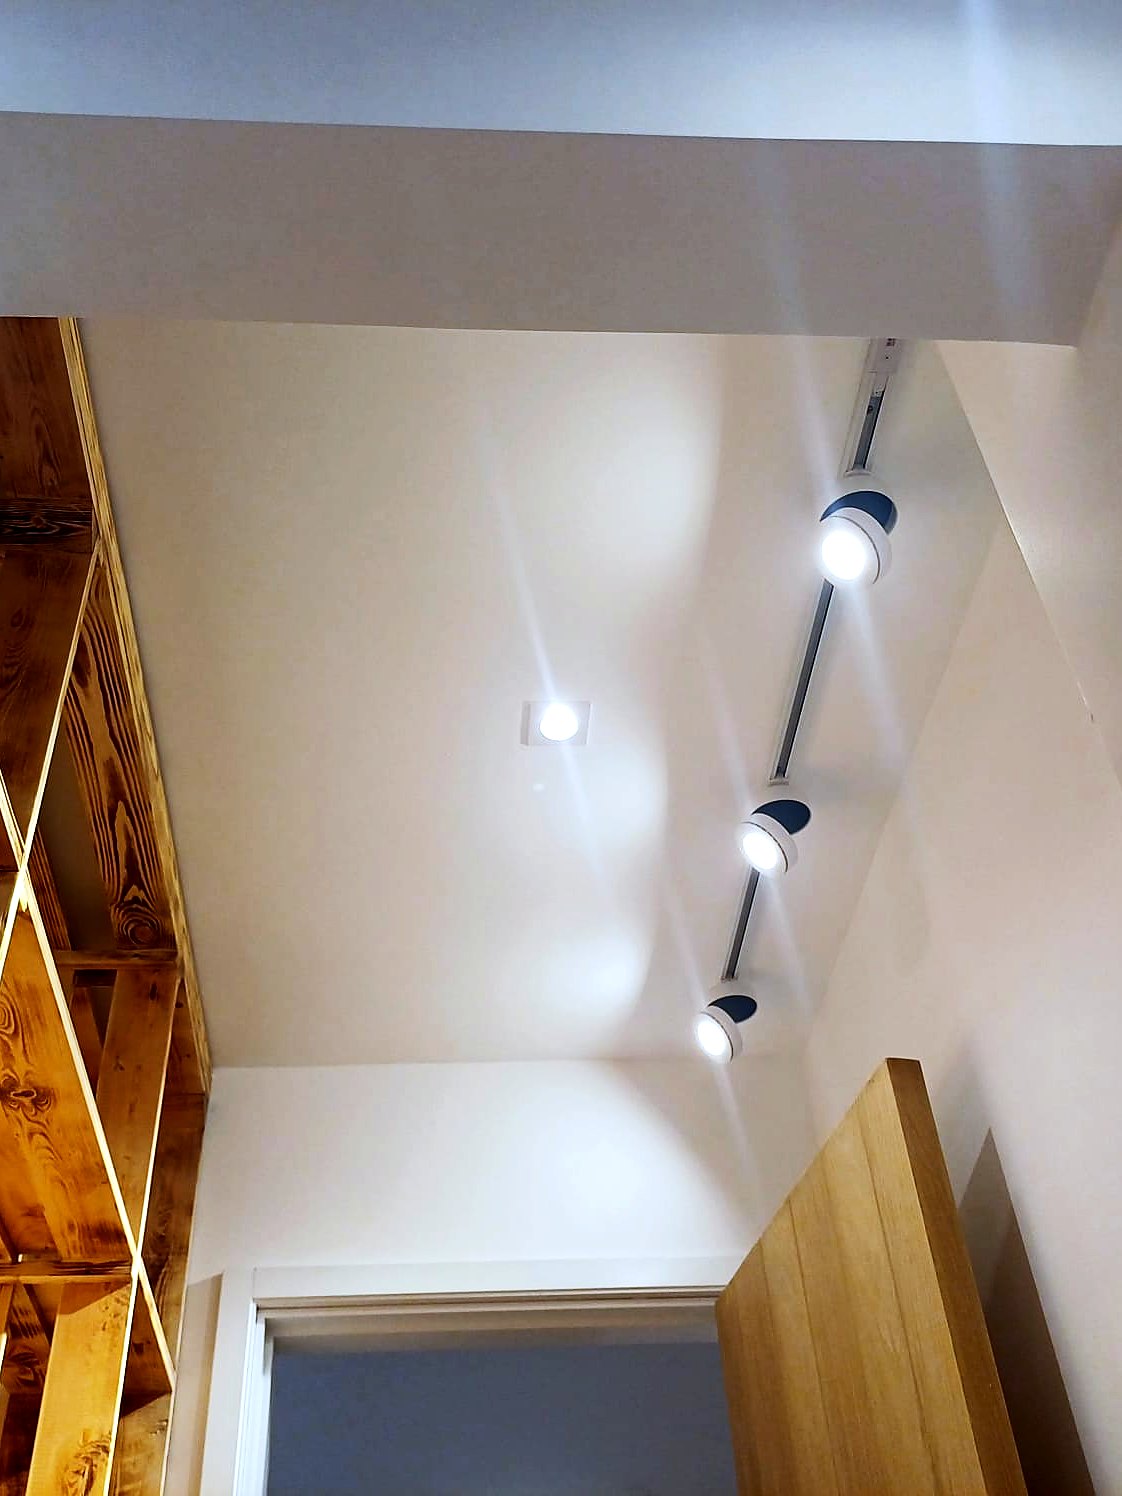
- Ambient light: the even, general light of the room, usually from coves and downlights. It should be soft enough to sit under all evening.
- Task light: light aimed where you work or read, such as the kitchen worktop, a desk, the mirror or the bedside. Stronger than ambient light, and placed so it does not glare.
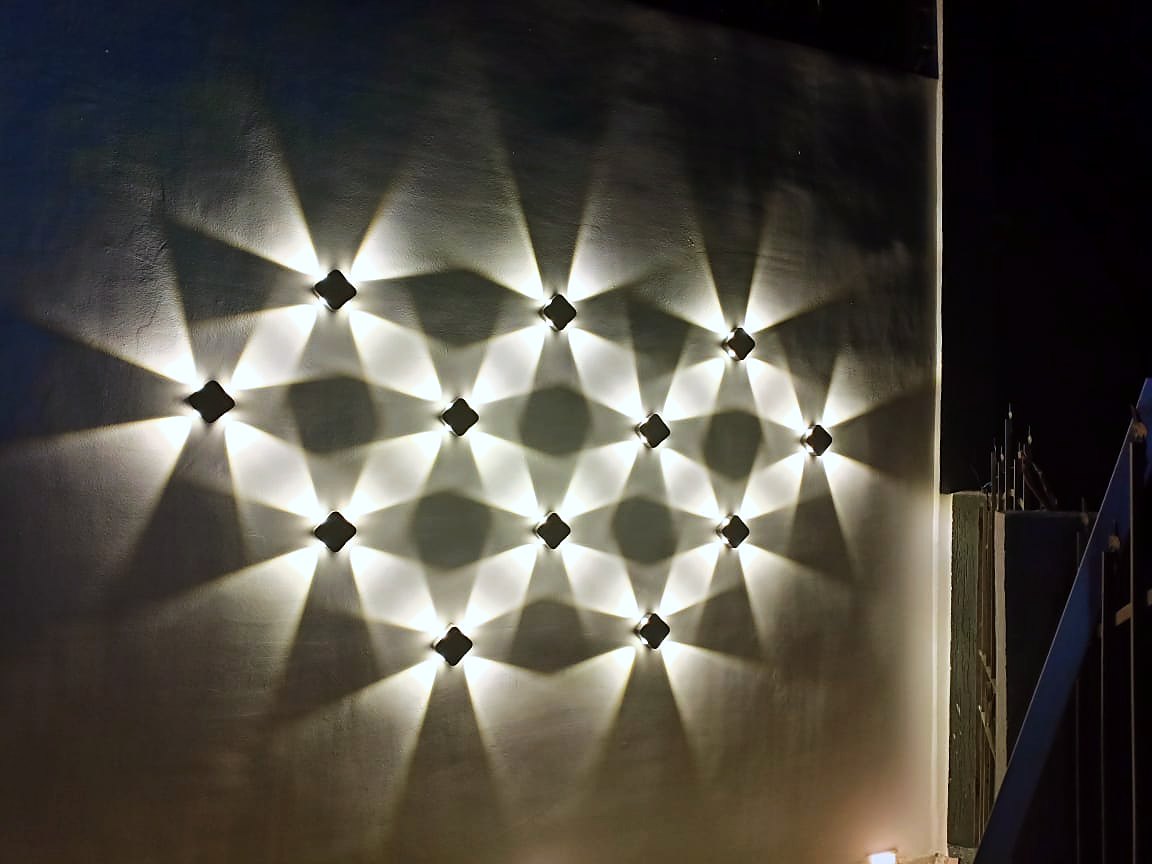
- Accent light: light that picks out a TV wall, a stone panel, a niche or a painting. It gives the room depth, and works when it is clearly brighter than its surroundings.
Put each layer on its own switch or dimmer, so the room can be bright for cleaning and soft in the evening.
Plan it before the gypsum: what is fixed at first fix
Hidden lighting cannot be moved once the gypsum board is up and painted, so its positions are settled at the electrical first fix, in this order:
Draw a lighting plan for each room
Mark coves, profiles, downlights and accent lights on the ceiling drawings, with the furniture layout, so light lands where people sit, cook and read.
Group the circuits and switches
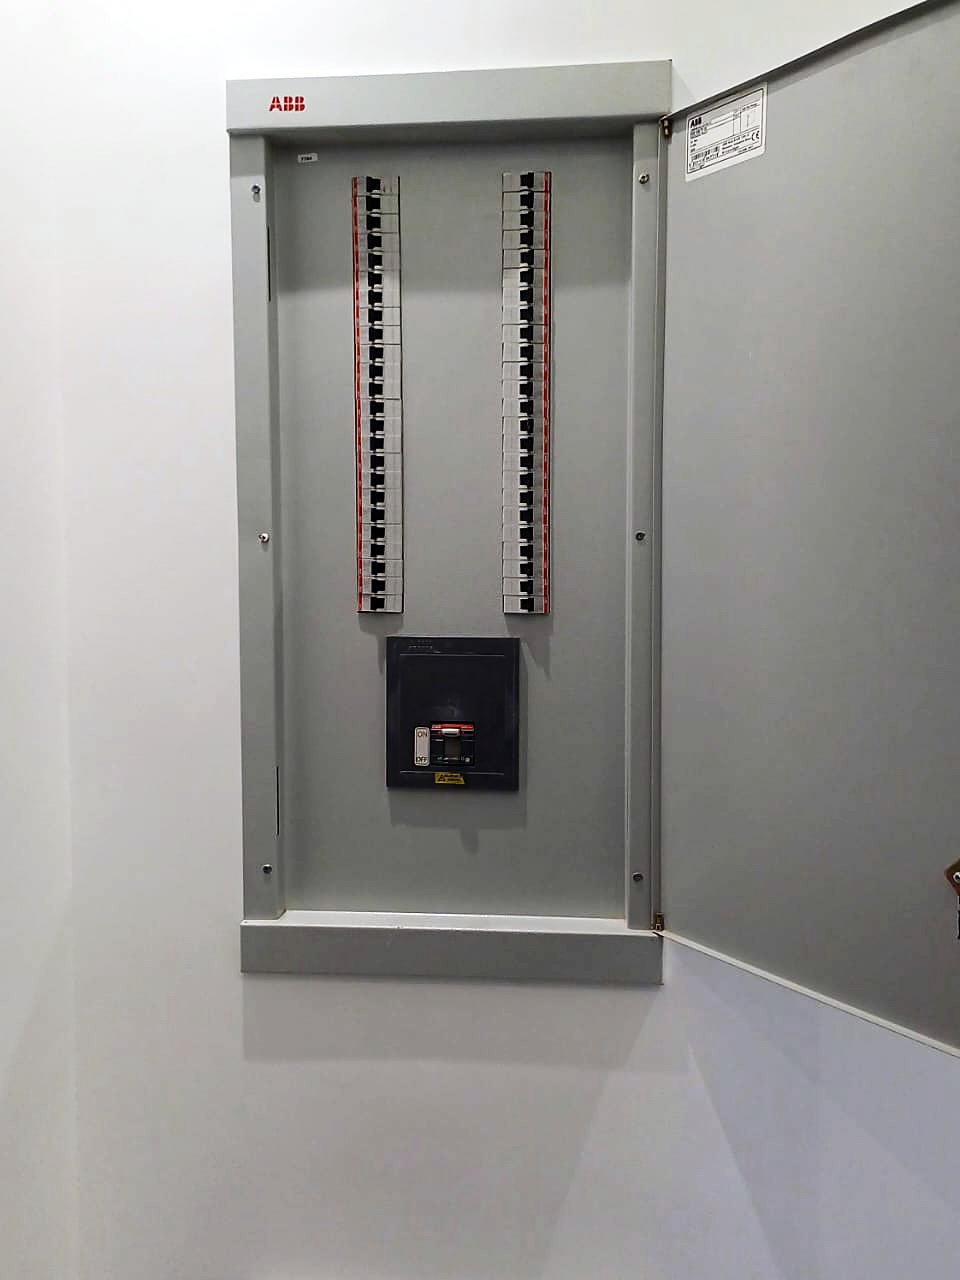
Decide which lights switch together, which are dimmed, and from where: the door, the bed, the top and bottom of a stair. Each group needs its own cable run.
Fix driver positions and access
Choose where every driver will sit and how it will be reached: an access hatch in the gypsum, a cupboard, or a cove that can be opened.
Build the gypsum around the lighting
Cove depths, recesses for flush profiles and reinforcement for heavier fittings are built into the framing, not cut in afterwards.
Fit strips and fittings last
Strips, diffusers and fittings go in after the final coat of paint, so sanding and spraying do not damage them.
Cove lighting or LED profile?
Both hide the LED strip, but the light is different. A cove is a trough in the gypsum that throws light onto the ceiling for a soft, indirect glow. A profile is an aluminium channel with a diffuser cover that shows a clean, direct line of light.
| Gypsum cove (indirect) | LED profile (direct) | |
|---|---|---|
| The light | Soft, bounced off the ceiling or wall | A crisp, visible line |
| Best for | Ambient light in receptions and bedrooms; makes a ceiling feel higher | Modern lines, shadow gaps, kitchens, wardrobes, stairs and corridors |
| What it needs | Enough depth that the strip is never seen from the room, and a flat, well-painted ceiling | Precise setting-out, straight joints, and a diffuser deep enough to hide the dots |
| Weak points | Shows every wave in the ceiling; dust settles in the trough | A crooked line is on show; harsh if too bright for the room |
A clean line: no dots, no shadows
Dots, dark gaps and bright patches are the usual faults in hidden lighting, and almost all of them come from the detail rather than the strip:
- Match the strip to the detail. Closely spaced LEDs, or a continuous dotless (COB) strip, show far fewer dots, and every profile needs a diffuser set far enough from the strip.
- In a cove, set the strip back from the edge and some distance below the ceiling. Pressed close to the ceiling it makes a hard bright band; more distance gives a softer wash.
- Carry the light into the corners and join lengths end to end with no gaps, so there are no dark breaks.
- Feed long runs from more than one point, or use a 24-volt strip, so the far end is not dimmer than the start.
- Paint the inside of the cove matt white, so it reflects evenly.
- Make the ceiling flat before it is lit. Light grazing across a surface shows every wave and patch of filler.
Colour temperature and colour quality
Colour temperature, measured in kelvin (K), describes how warm or cool white light looks. In Egypt people simply say yellow or white; in practice there are three useful bands.
| Colour | Approximate value | Where it suits |
|---|---|---|
| Warm white | 2700–3000 K | Receptions, living rooms, bedrooms and dining: relaxing in the evening, kind to wood, stone and skin |
| Neutral white | 3500–4000 K | Kitchens, bathrooms, dressing rooms and study corners: clear without feeling clinical |
| Cool white | 5000 K and above | Stores, laundry rooms, garages and outdoor security light; usually harsh in living spaces at night |
Keep one colour in each room, and buy each type of strip from one batch. Colour quality is a separate measure: the colour rendering index (CRI) shows how faithfully a light shows real colours, and 90 or more is a good target for a home. A poor strip can make marble look grey and wood look dull.
Dimming, control and drivers
Every LED strip runs from a driver that converts mains power to low voltage. The driver decides how the light dims and is a common source of faults, so choose and place it with care.
- Matched driver and dimmer: a mismatched pair causes flicker, buzzing, or lights that never switch fully off.
- Spare capacity and air: size each driver above the load of its strip, and never bury it in insulation or a sealed box, so it runs cooler and lasts longer.
- Access and labels: every driver needs a hatch, cupboard or opening cove close by, and a label naming the circuit it feeds. Keep a spare length of strip from the same batch for repairs.
- Phone and voice control: possible through smart drivers, wireless controllers or smart switches; many smart switches need a neutral wire in the switch box, so ask for it at first fix. A wired system such as KNX suits a large villa; a finished flat can go wireless without chasing walls.
Kitchens, stairs, bathrooms and outdoors
Each part of the home asks something different of hidden light.
- Kitchen: under-cabinet light in a diffused profile, fixed towards the front of the wall cabinet so your shadow does not fall on the worktop. Neutral white suits food preparation.
- Stairs: low-level step lights in the wall, or a strip under each nosing, make a stair safe at night without glare. Fix the positions before plaster or cladding, and consider a motion sensor.
- Bathrooms: fittings near the shower and basin must be rated for water and steam. A backlit mirror gives soft light, but a face is lit best from the front, not only from above.
- Outdoors: fittings and connectors made for outdoor use, with sealed joints and a suitable IP rating. On the North Coast choose housings and fixings that resist salt air, and aim uplights at palms and walls, not at the neighbours' windows.
How Itmam handles hidden lighting
Hidden lighting joins three trades: electrics, gypsum board and paint. Itmam does finishing, decoration and supply, so all three run as one job, and cove depths, driver hatches and switch positions are agreed with you before anything is built.
We visit, measure and give you a written, itemised quotation before work starts. On a finishing contract you pay each supplier directly and the tax invoice is in your name; our fee is for supervision and execution, agreed in writing before work begins. We work in Alexandria, the North Coast and New Cairo, and elsewhere in Egypt when the job suits.
Departments for this
Electrical & Smart Home
Electrics are invisible until they are a problem.
See moreGypsum & Decorative Ceilings
The ceiling is where lighting, air conditioning and joinery all arrive at the same plane, which is why it is the first thing an eye catches when something is out.
See more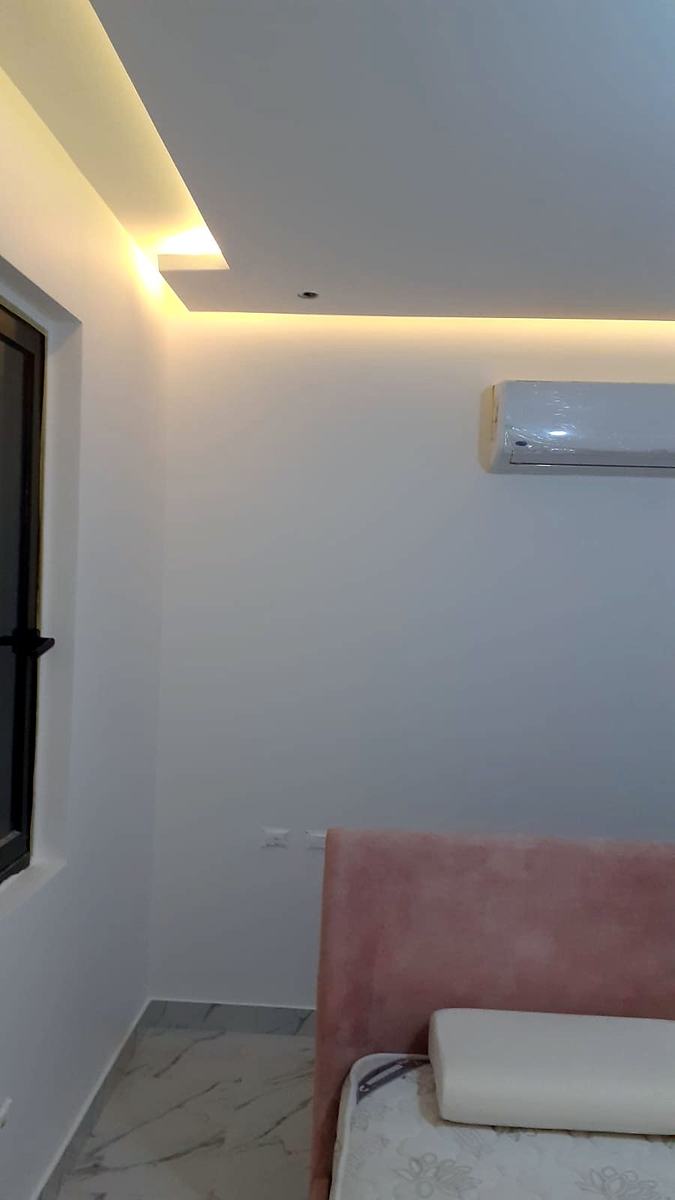
Painting & Decorative Finishes
Paint is the finish everybody judges and the trade everybody rushes.
See moreWork we have done
Photo gallery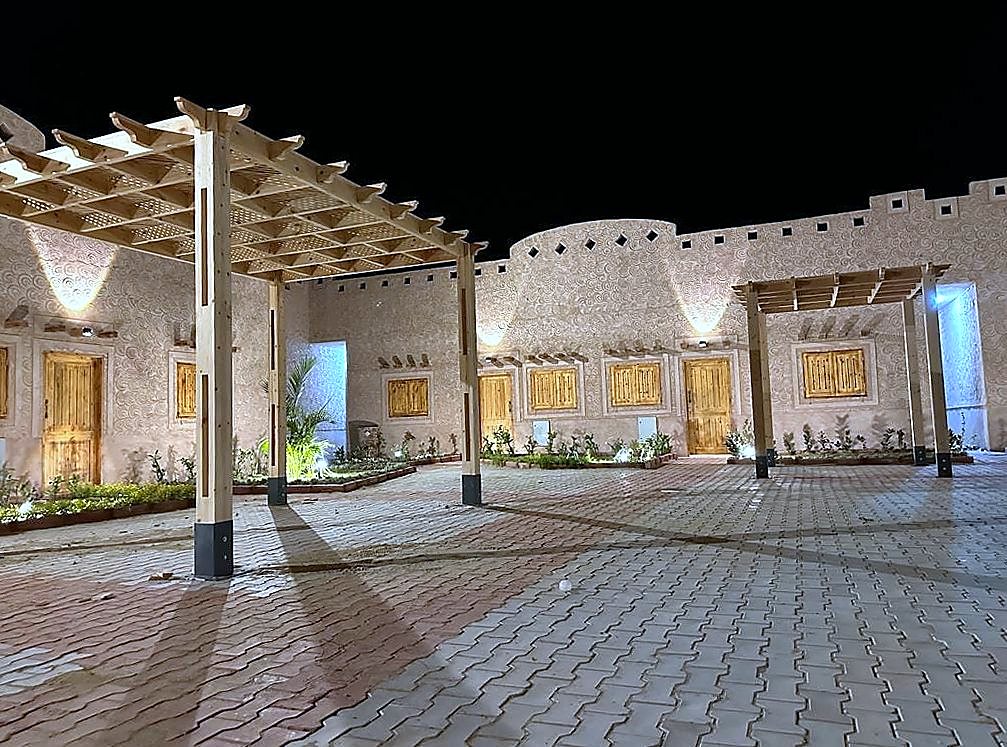
El Moghra
Turnkey build & finish · Desert lodge · Completed
View project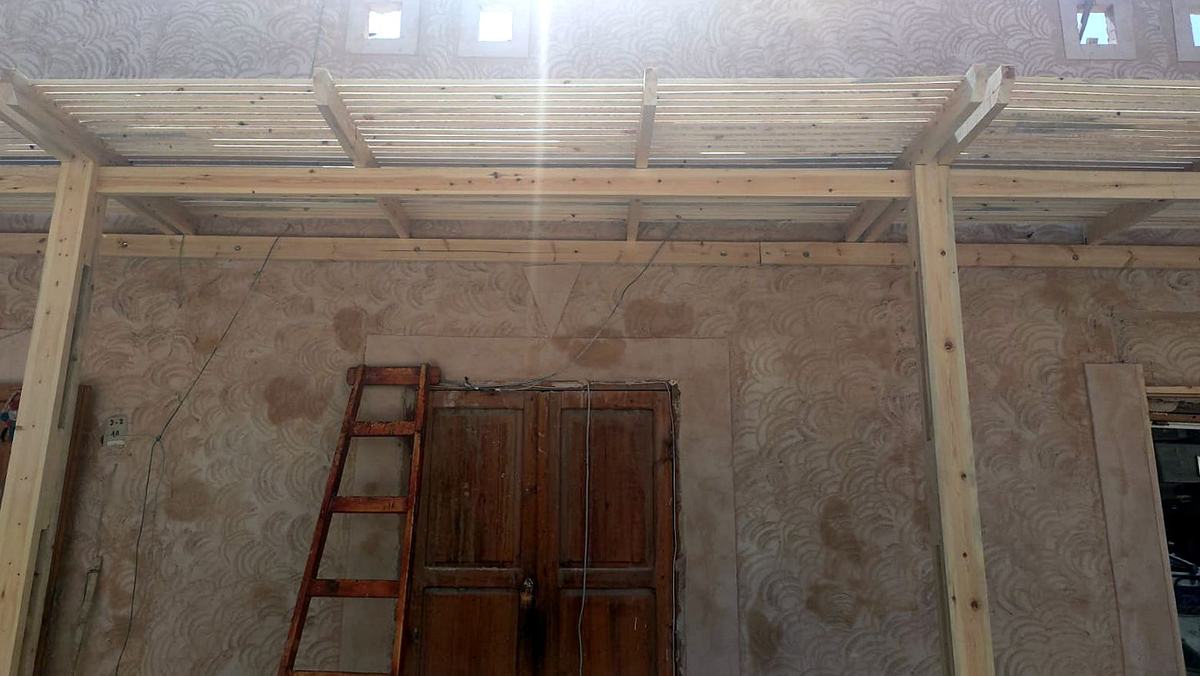
Market Street, Siwa
Façades, pergolas & shopfronts · A street of shops · Completed
View project
The Equestrian Yard
Stables, arena & yard · Working yard · In progress
View projectQuestions people ask
Cove lighting or LED profile?
Warm white or cool white?
How is a failed hidden LED replaced?
Can I control the lighting from my phone?
How do I avoid dots and shadows in hidden lighting?
How much does hidden lighting cost?
Read next
Reception rooms and TV walls
The TV wall is the first thing the eye lands on in a reception room, and the wall most easily spoiled by a visible cable or a…
See more Decoration · by styleModern interiors
Modern is not just taking the ornament away. It is clean lines, few materials and details built precisely, because simplicity…
See more Decoration · by styleWall finishes: stone, wood and panels
A feature wall can be stone, wood, mouldings, effect paint or wallpaper, and each has a place where it shines and a place where…
See more Finishing · by levelHotel-style finishing at home
The feeling you get in a good hotel room is not an accident: hidden services, a few repeated materials, layered light and quiet.…
See more Finishing · elementsStone stairs and balustrades
The stair is the most walked-on part of a house and the place someone is most likely to trip. So the stone, the edge of each…
See more Guides · During the workFinishing a flat, step by step
Finishing has a right order, and most expensive mistakes come from breaking it. Here is the sequence from bare walls to…
See more